It looks like you followed a link to a marker.js 2 demo. marker.js 3 is the current version and you can find demos for it below.
In case you are looking for the v2 demo specifically, you can find it here.
marker.js 3 demos to inspire and get you started
Below is a collection of demos showcasing the features of marker.js 3. Feel free to explore, copy, or get inspired.
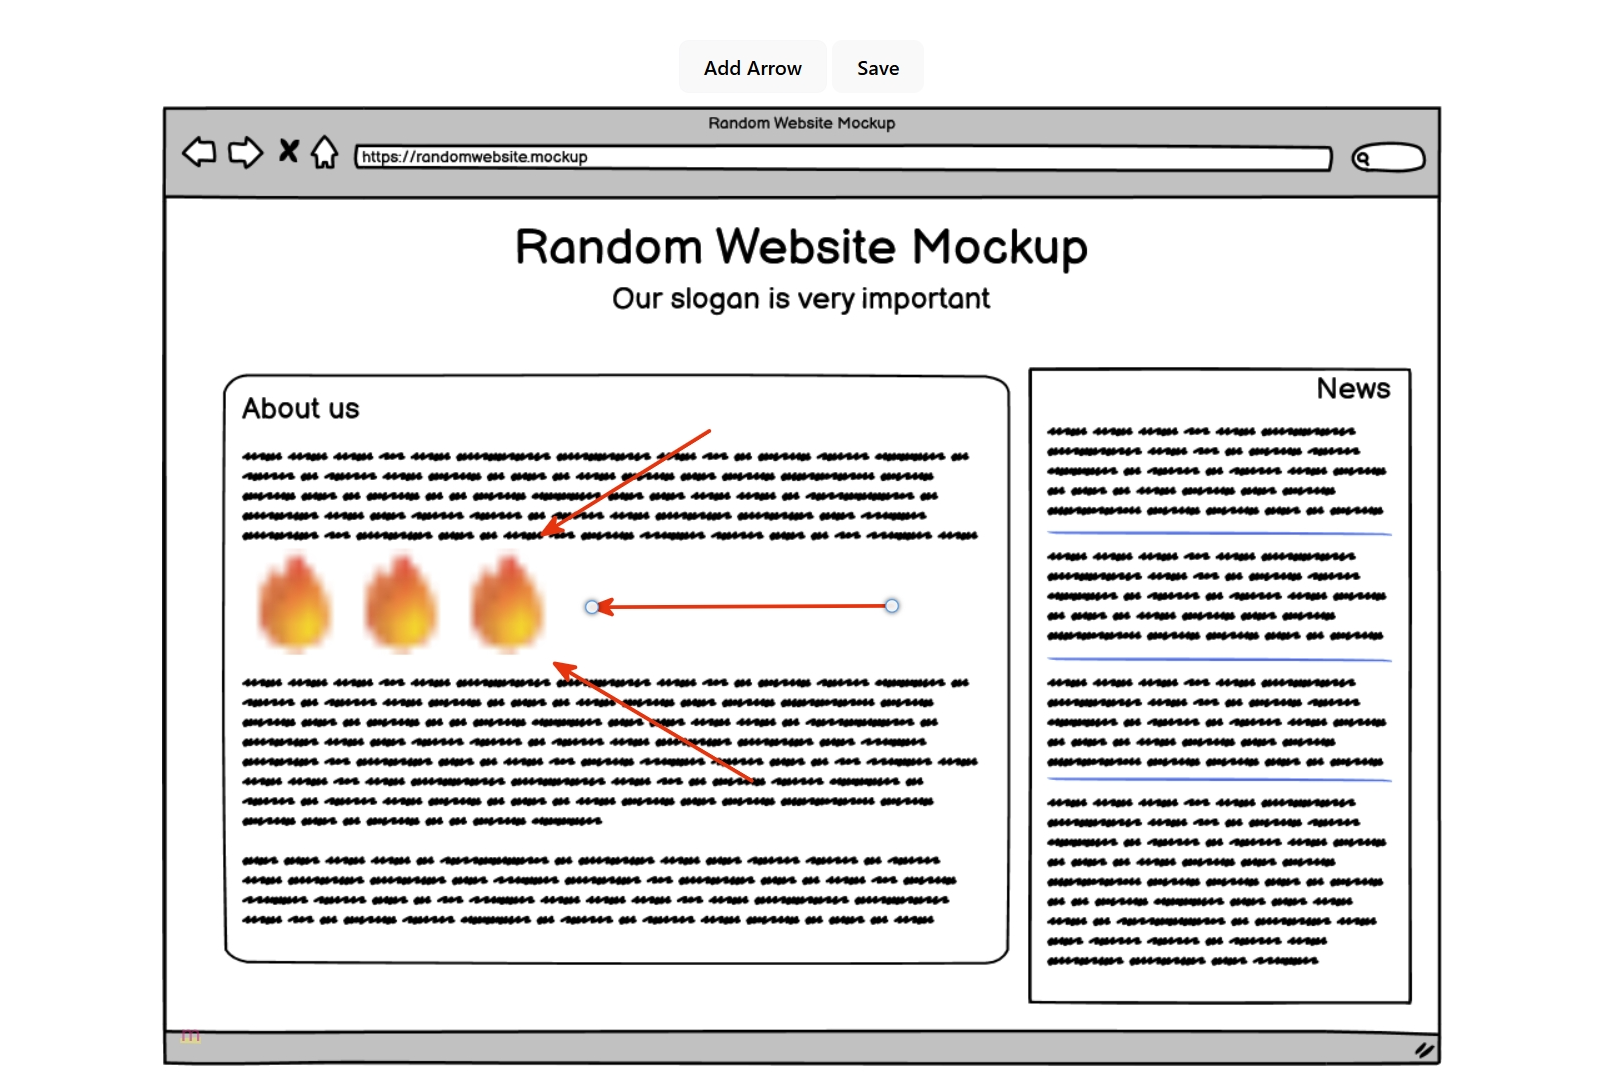
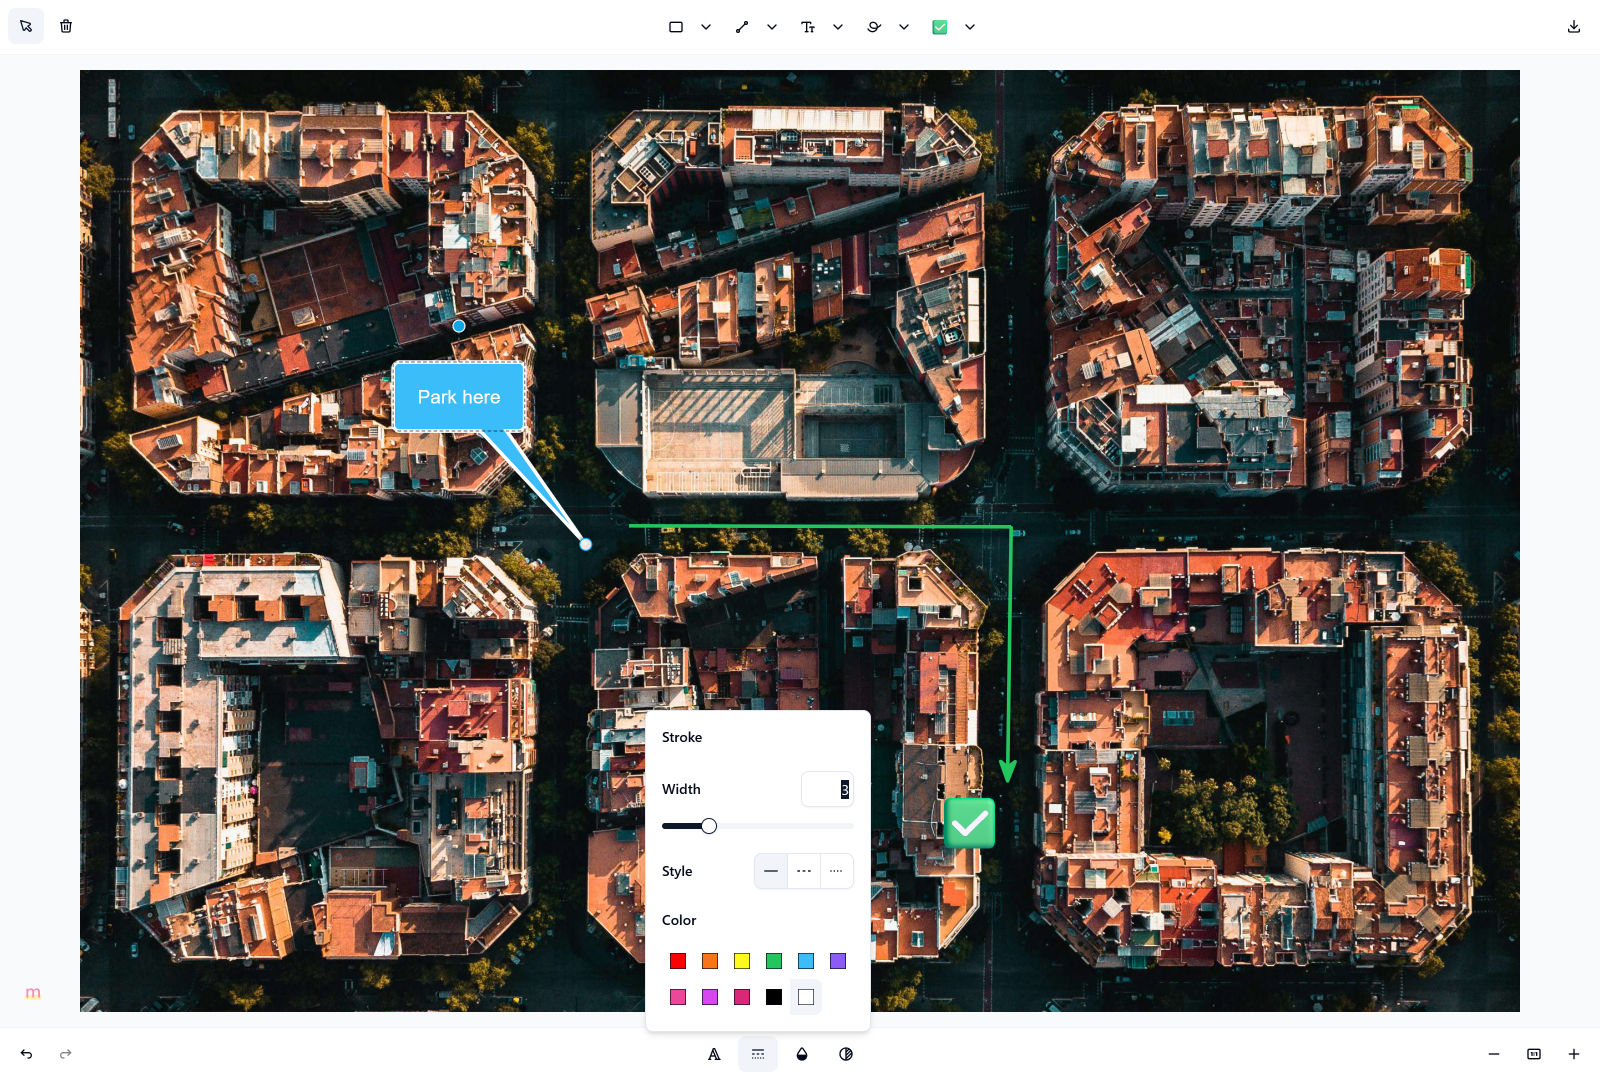
React demo
The one from the homepage
This demo includes fully functional image annotation editor and viewer UI components built with marker.js 3. Feel free to base your implementations on the code in this demo.
- Ready to use.
- This demo includes fully functional image annotation editor and viewer UI components that you can copy/paste and adjust to the needs of your project.
- Based on Tailwind CSS and shadcn/UI.
- The UI components in this demo are built with Tailwind CSS and shadcn/UI components.
- Comprehensive.
- The demo includes a complete image annotation editor and viewer showcasing all the features of marker.js 3.
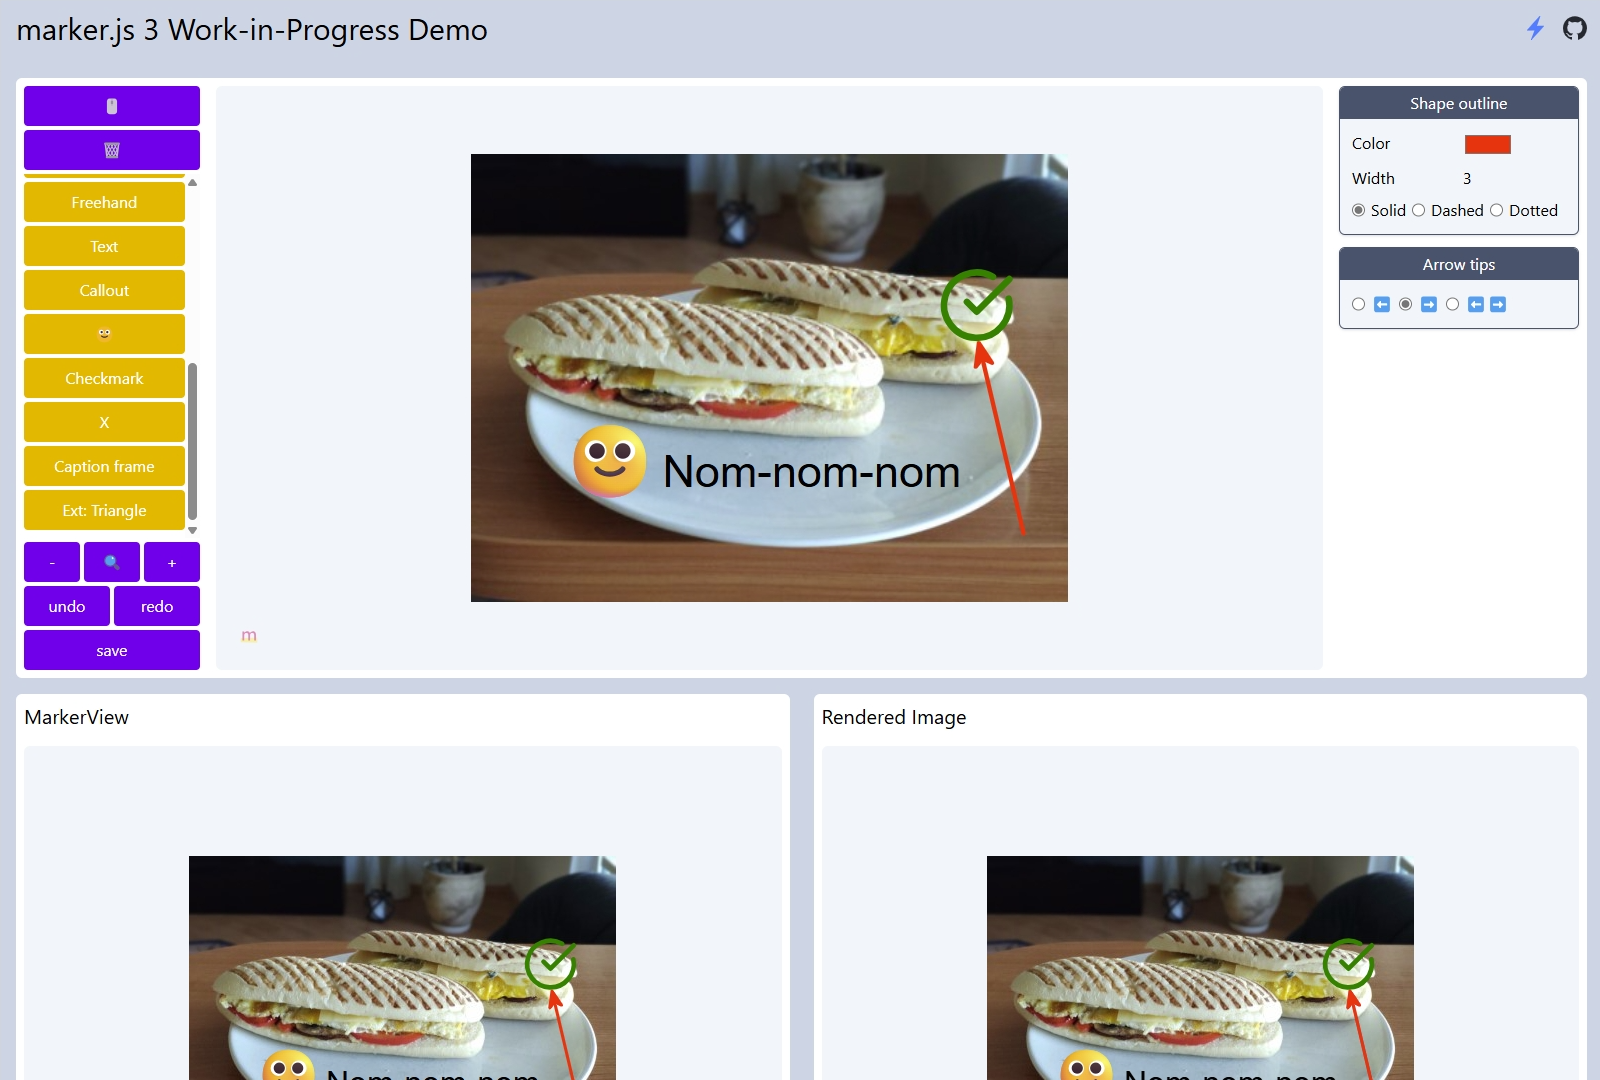
Work-in-progress demo
All the features, none of the polish
You can find implementations of all the features of marker.js 3 in this demo. It's purposefully unpolished to showcase the features of the library without any unnecessary ceremony.
- Lite on external concepts.
- While this demo is React-based, it's built with minimal dependencies and exchanges best practices for simplicity to make it easier to understand and copy the code.
- Complete and up-to-date.
- This demo is updated while the library is being developed to test and showcase all the features of marker.js 3.
Quick start demo
The bare minimum to get you started
The end result of the quick start guides in the documentation this demo covers the basics of adding image annotation to your app.
- Plain and simple.
- It doesn't cover all the bases but gets you started with the concepts of marker.js 3.
- Multiple frameworks.
- The repository for this demo includes versions in vanilla JavaScript, TypeScript, React, and Vue.