Shadows, outlines, and other filters
By default markers are created "flat" on top of the underlying image. While this is really clean, sometimes it makes markers hard to see or comprehend, especially on complex backgrounds.
Starting with version 3.3 you can mitigate this (or simply enhance the look of your annotations) by setting the MarkerArea.defaultFilter property.
CSS filters vs. SVG filters
The easiest and flexible way to use this feature would be to just use CSS filters and do something like this for drop shadows:
// not cross-browser compatible
markerArea.defaultFilter = "drop-shadow(2px 2px 2px black)";
Unfortunately, at this point this doesn't work in Safari on macOS and "by-design" any browser on iOS. Luckily, this is a progressive enhancement and non-critical. So, if you consider this to be a just nice-to-have enhancement or/and don't care about Safari, you can just use these CSS filters for ease and flexibility.
Alternatively, SVG filters are slightly harder to implement but they work in all
modern browsers. To use them you'd need to add filter elements to the defs part
of marker.js' underlying SVG. For this v3.3 added
an addDefs() method. You can use it to add custom
filters. Having said that, v3.3 and later come with three built-in filters that cover
the most common effects you may want to add.
Built-in filters
marker.js comes with 3 built-in filters
1. Drop shadow (dropShadow)

As the name suggests, this filter adds a drop shadow effect to all relevant marker types.
To use it set defaultFilter to 'url(#dropShadow)'
markerArea.defaultFilter = "url(#dropShadow)";
2. Glow (glow)
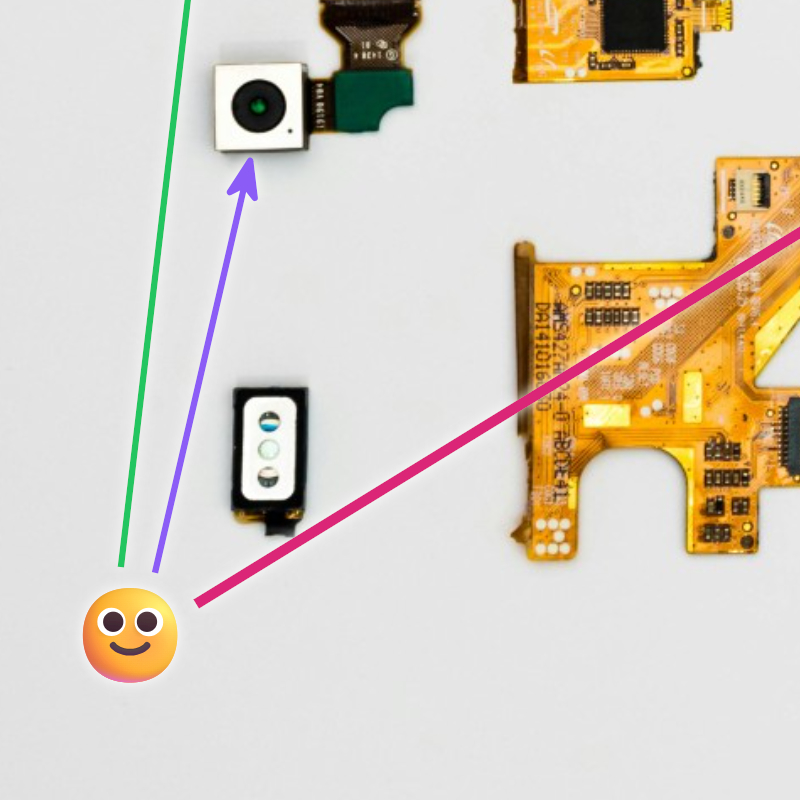
Glow filter creates a subtle glow around markers. It's barely visible but makes even, say, red-on-red markers legible. It's a good candidate to use when you don't need any pronounced visual impact, but want to improve legibility.
Apply:
markerArea.defaultFilter = "url(#glow)";
3. Outline (outline)
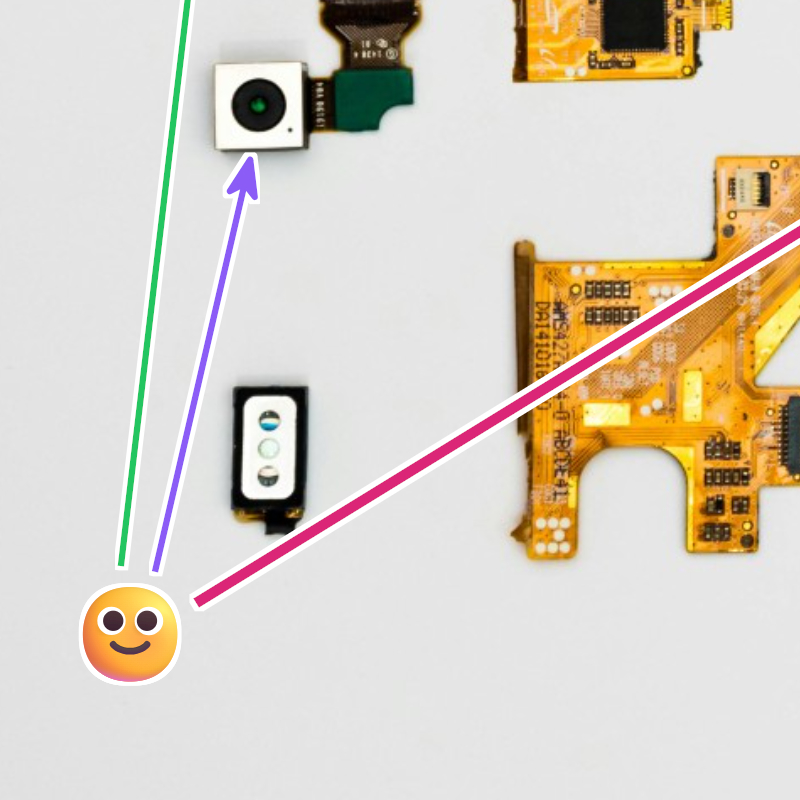
Outline filter makes markers hard to miss without adding any faux 3D effects, like drop shadow does.
markerArea.defaultFilter = "url(#outline)";
Editor, viewer, renderer, state and filters
When you apply a filter in the editor (MarkerArea) it is returned along with the annotation state. This means that when it's loaded in the viewer (MarkerView) or renderer (Renderer) the same filter that was used in the editor is automatically applied.
However, both MarkerView and Renderer have their own defaultFilter properties that can
be used to apply a different filter (or no filter) to apply different effects for different
scenarios.